

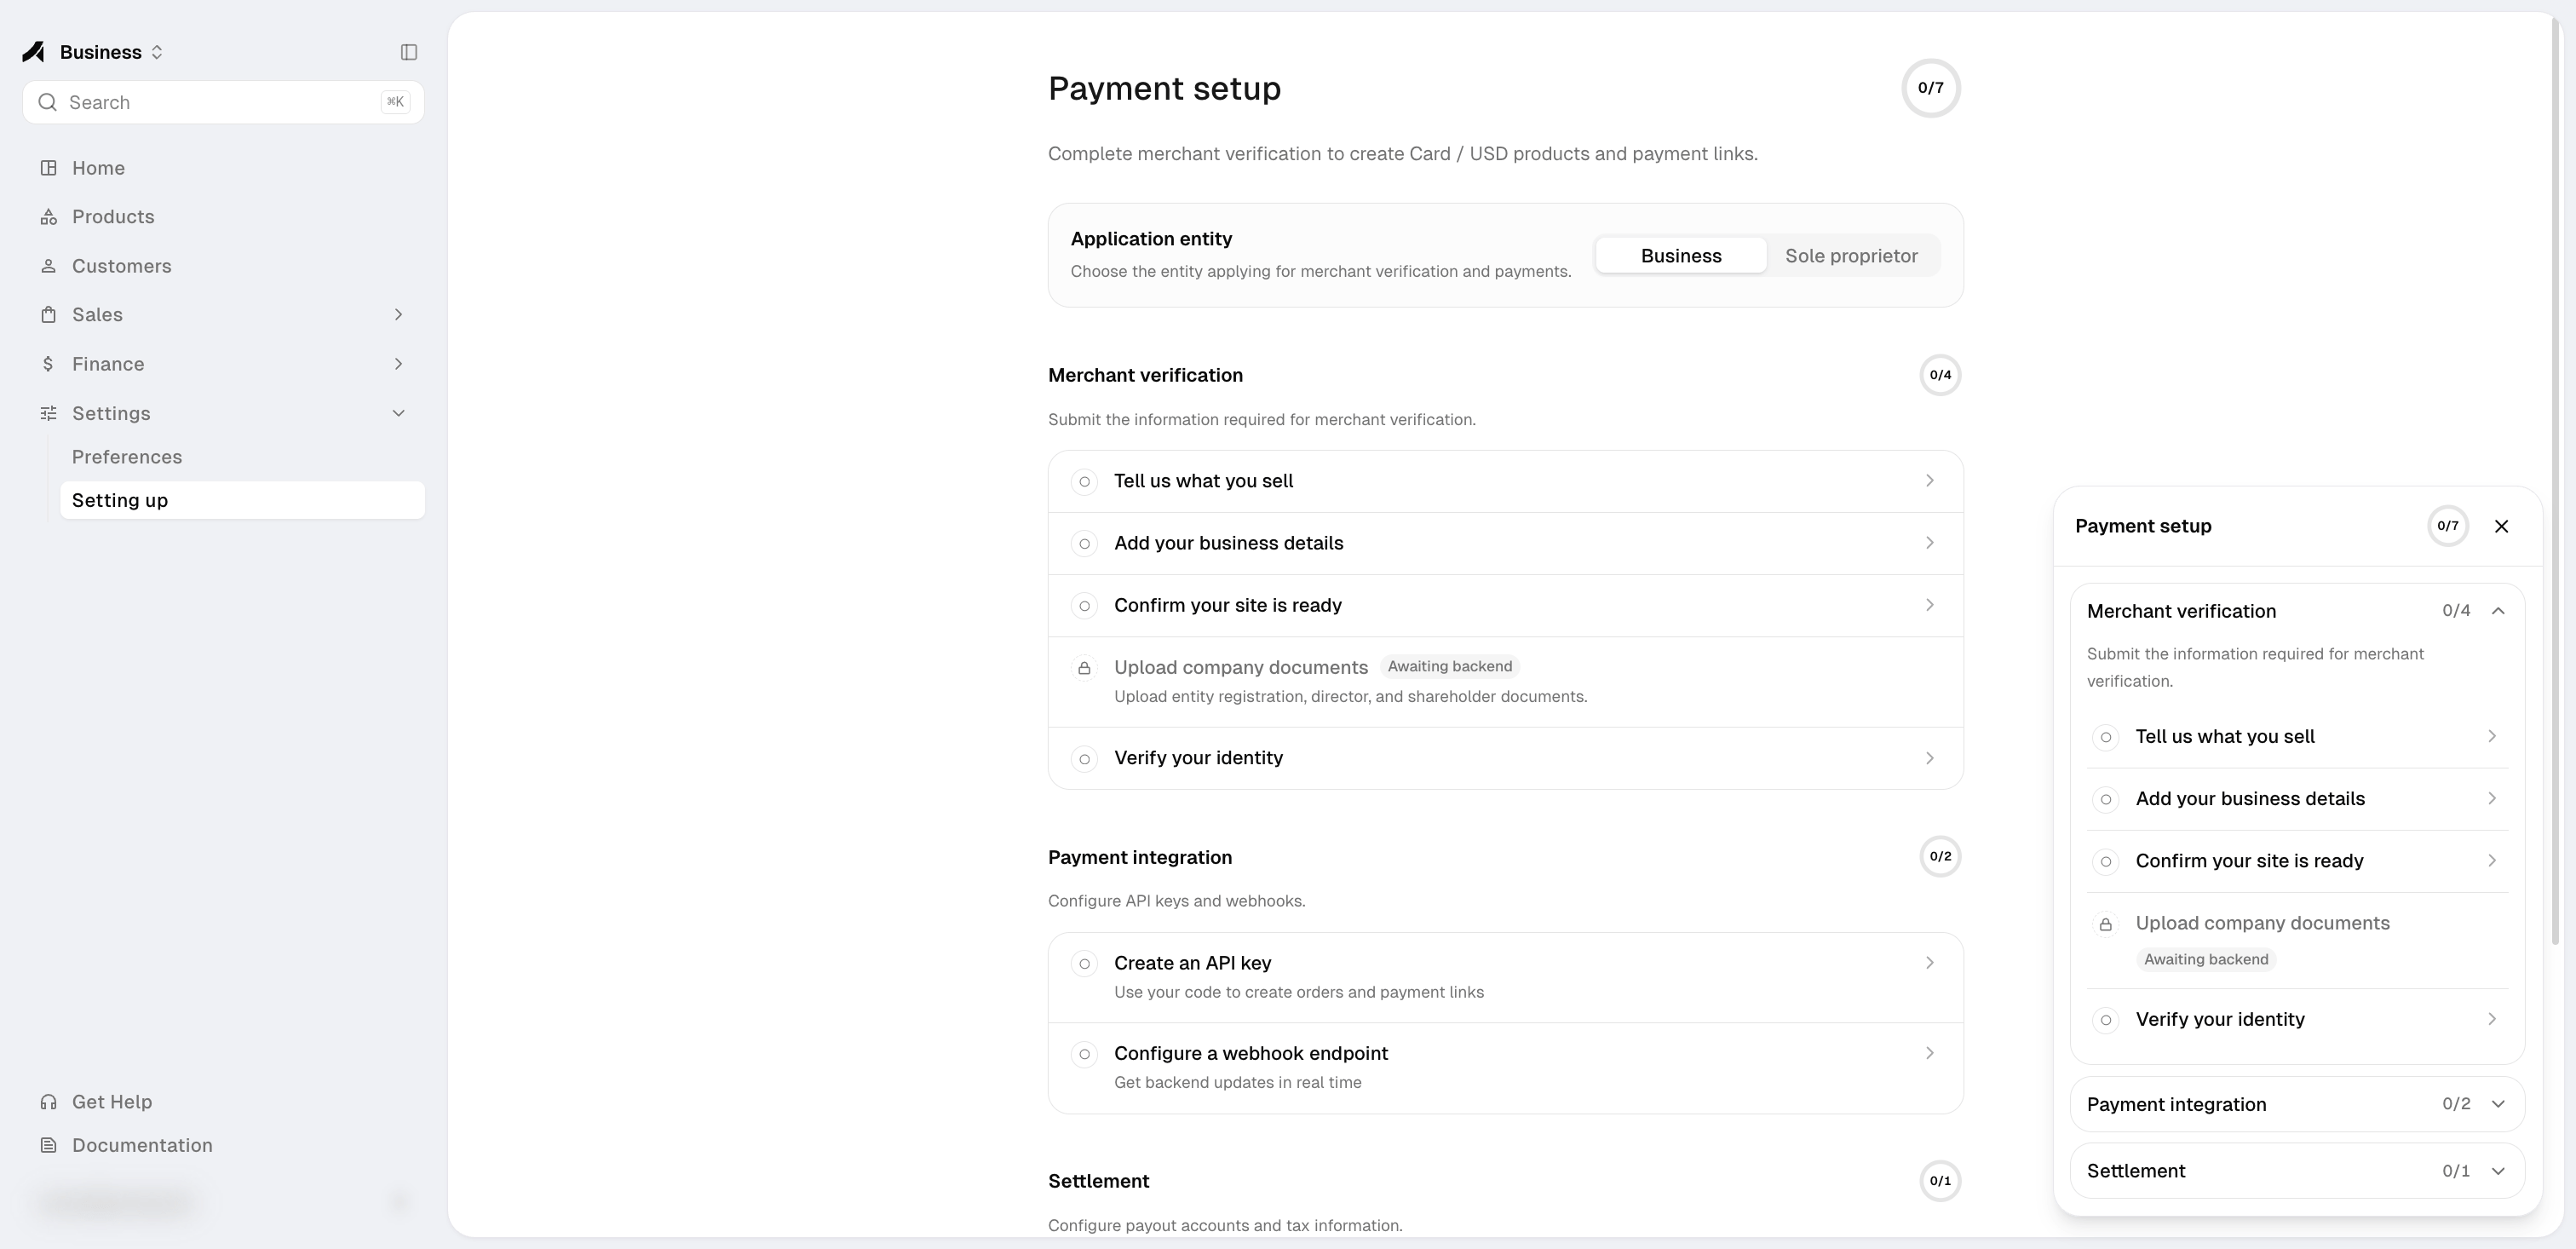
Choose an account type
The first step asks whether you are applying as a Business or an Individual.
Both account types also provide product and support details. For a Business application,
the registered address country is taken from the selected tax residency.
For Hong Kong addresses, the postal code may be left blank. For China, an Individual
uses a citizen ID with 17 digits followed by a digit or
X. A Business uses an
18-character Unified Social Credit Code.What you need
Prepare the following information before starting:- the registration details for your selected account type;
- product name, an
https://website or product URL, and customer support email; - confirmation that the product is ready, pricing is publicly visible, and the intended use is ethical;
- identity details, including legal name, date of birth, nationality, phone number, and residential address;
- first and last name when applying as an Individual; and
- a clear, non-empty passport image in JPG or PNG format, no larger than 10 MB.
You do not need to enter bank or payout account details to submit business verification.
Application states
Submit or update an application
1
Open Payment setup
In the Business view, go to Settings → Setting up. Actions that start, continue, or update the application lead here. While the application is under review, the Payout page offers Refresh status. A rejected application offers Contact support instead.
2
Choose Business or Sole proprietor
Under Application entity, select the type that matches the applicant.
3
Complete every section
Enter the registration, product, compliance, identity, and address information.
4
Upload the passport
Use a clear, unedited JPG or PNG image. Make sure the text and photo are readable.
5
Review and submit
Check names, dates, registration numbers, and addresses before submitting.
6
Respond to a request for information
If the status changes to More information required, open the application, correct the requested fields, upload a replacement document if needed, and submit again.
After approval
Once every section is approved, the checklist shows Card / USD available and you can create Card / USD products and payment links: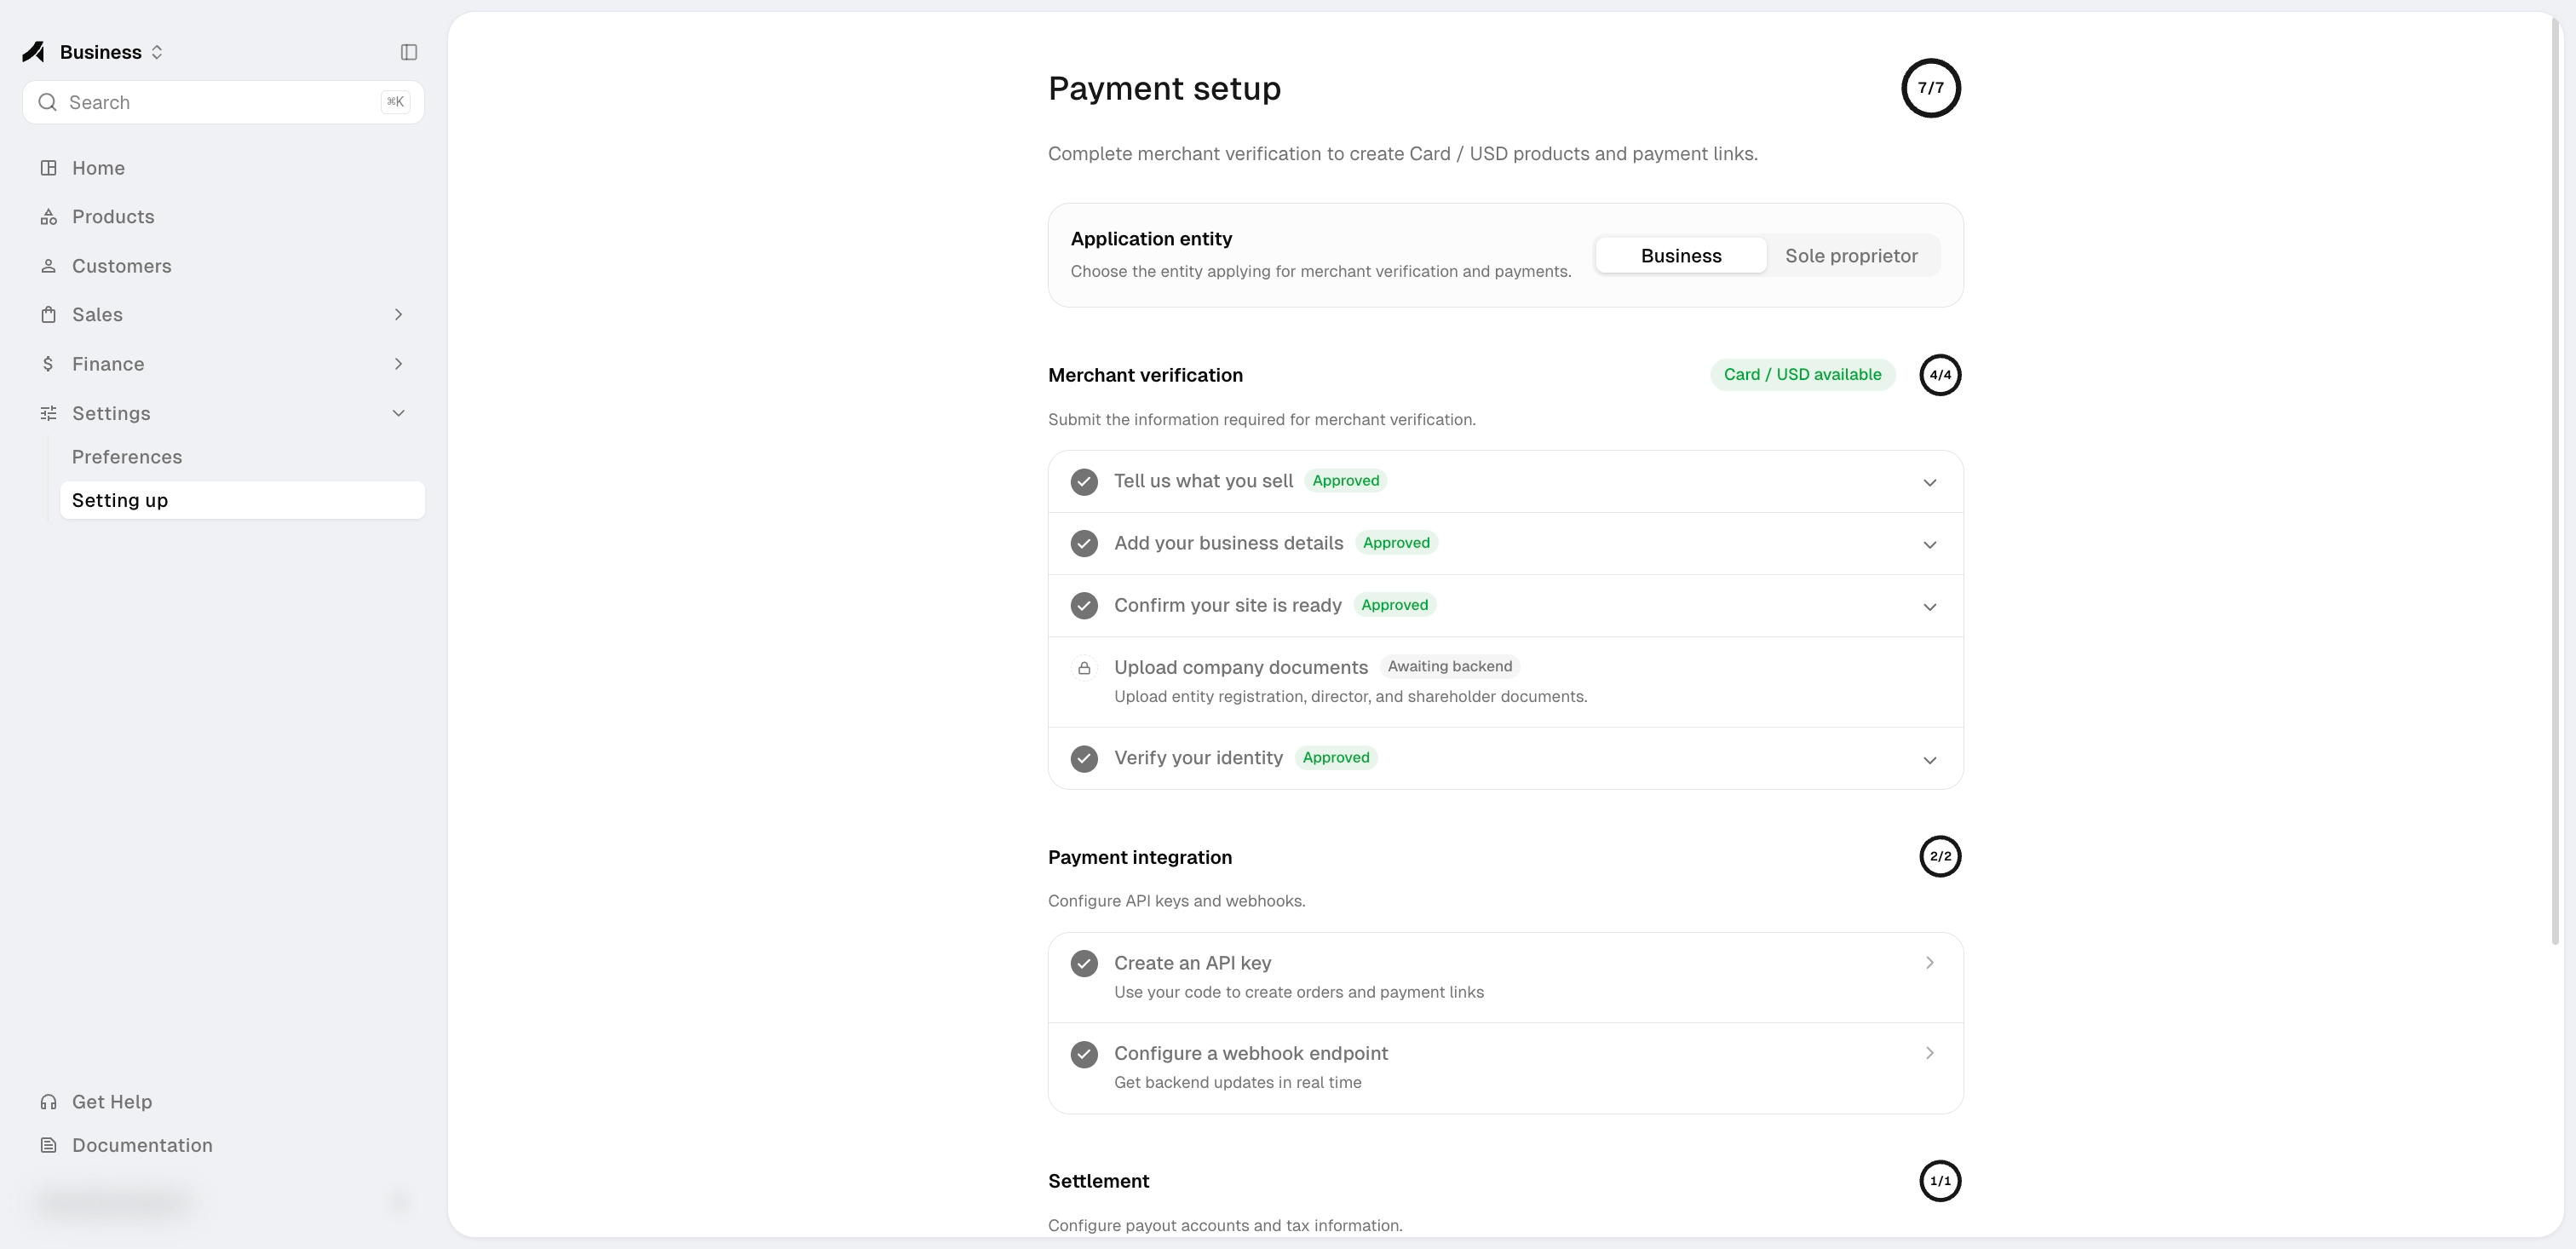
Set up payouts
Add a US, UK, Hong Kong, Alipay, or China payout account and learn how payout requests are processed.